Well deserved maintenance for the Cabby.
Written on July 31st , 2023 by sudoyashi
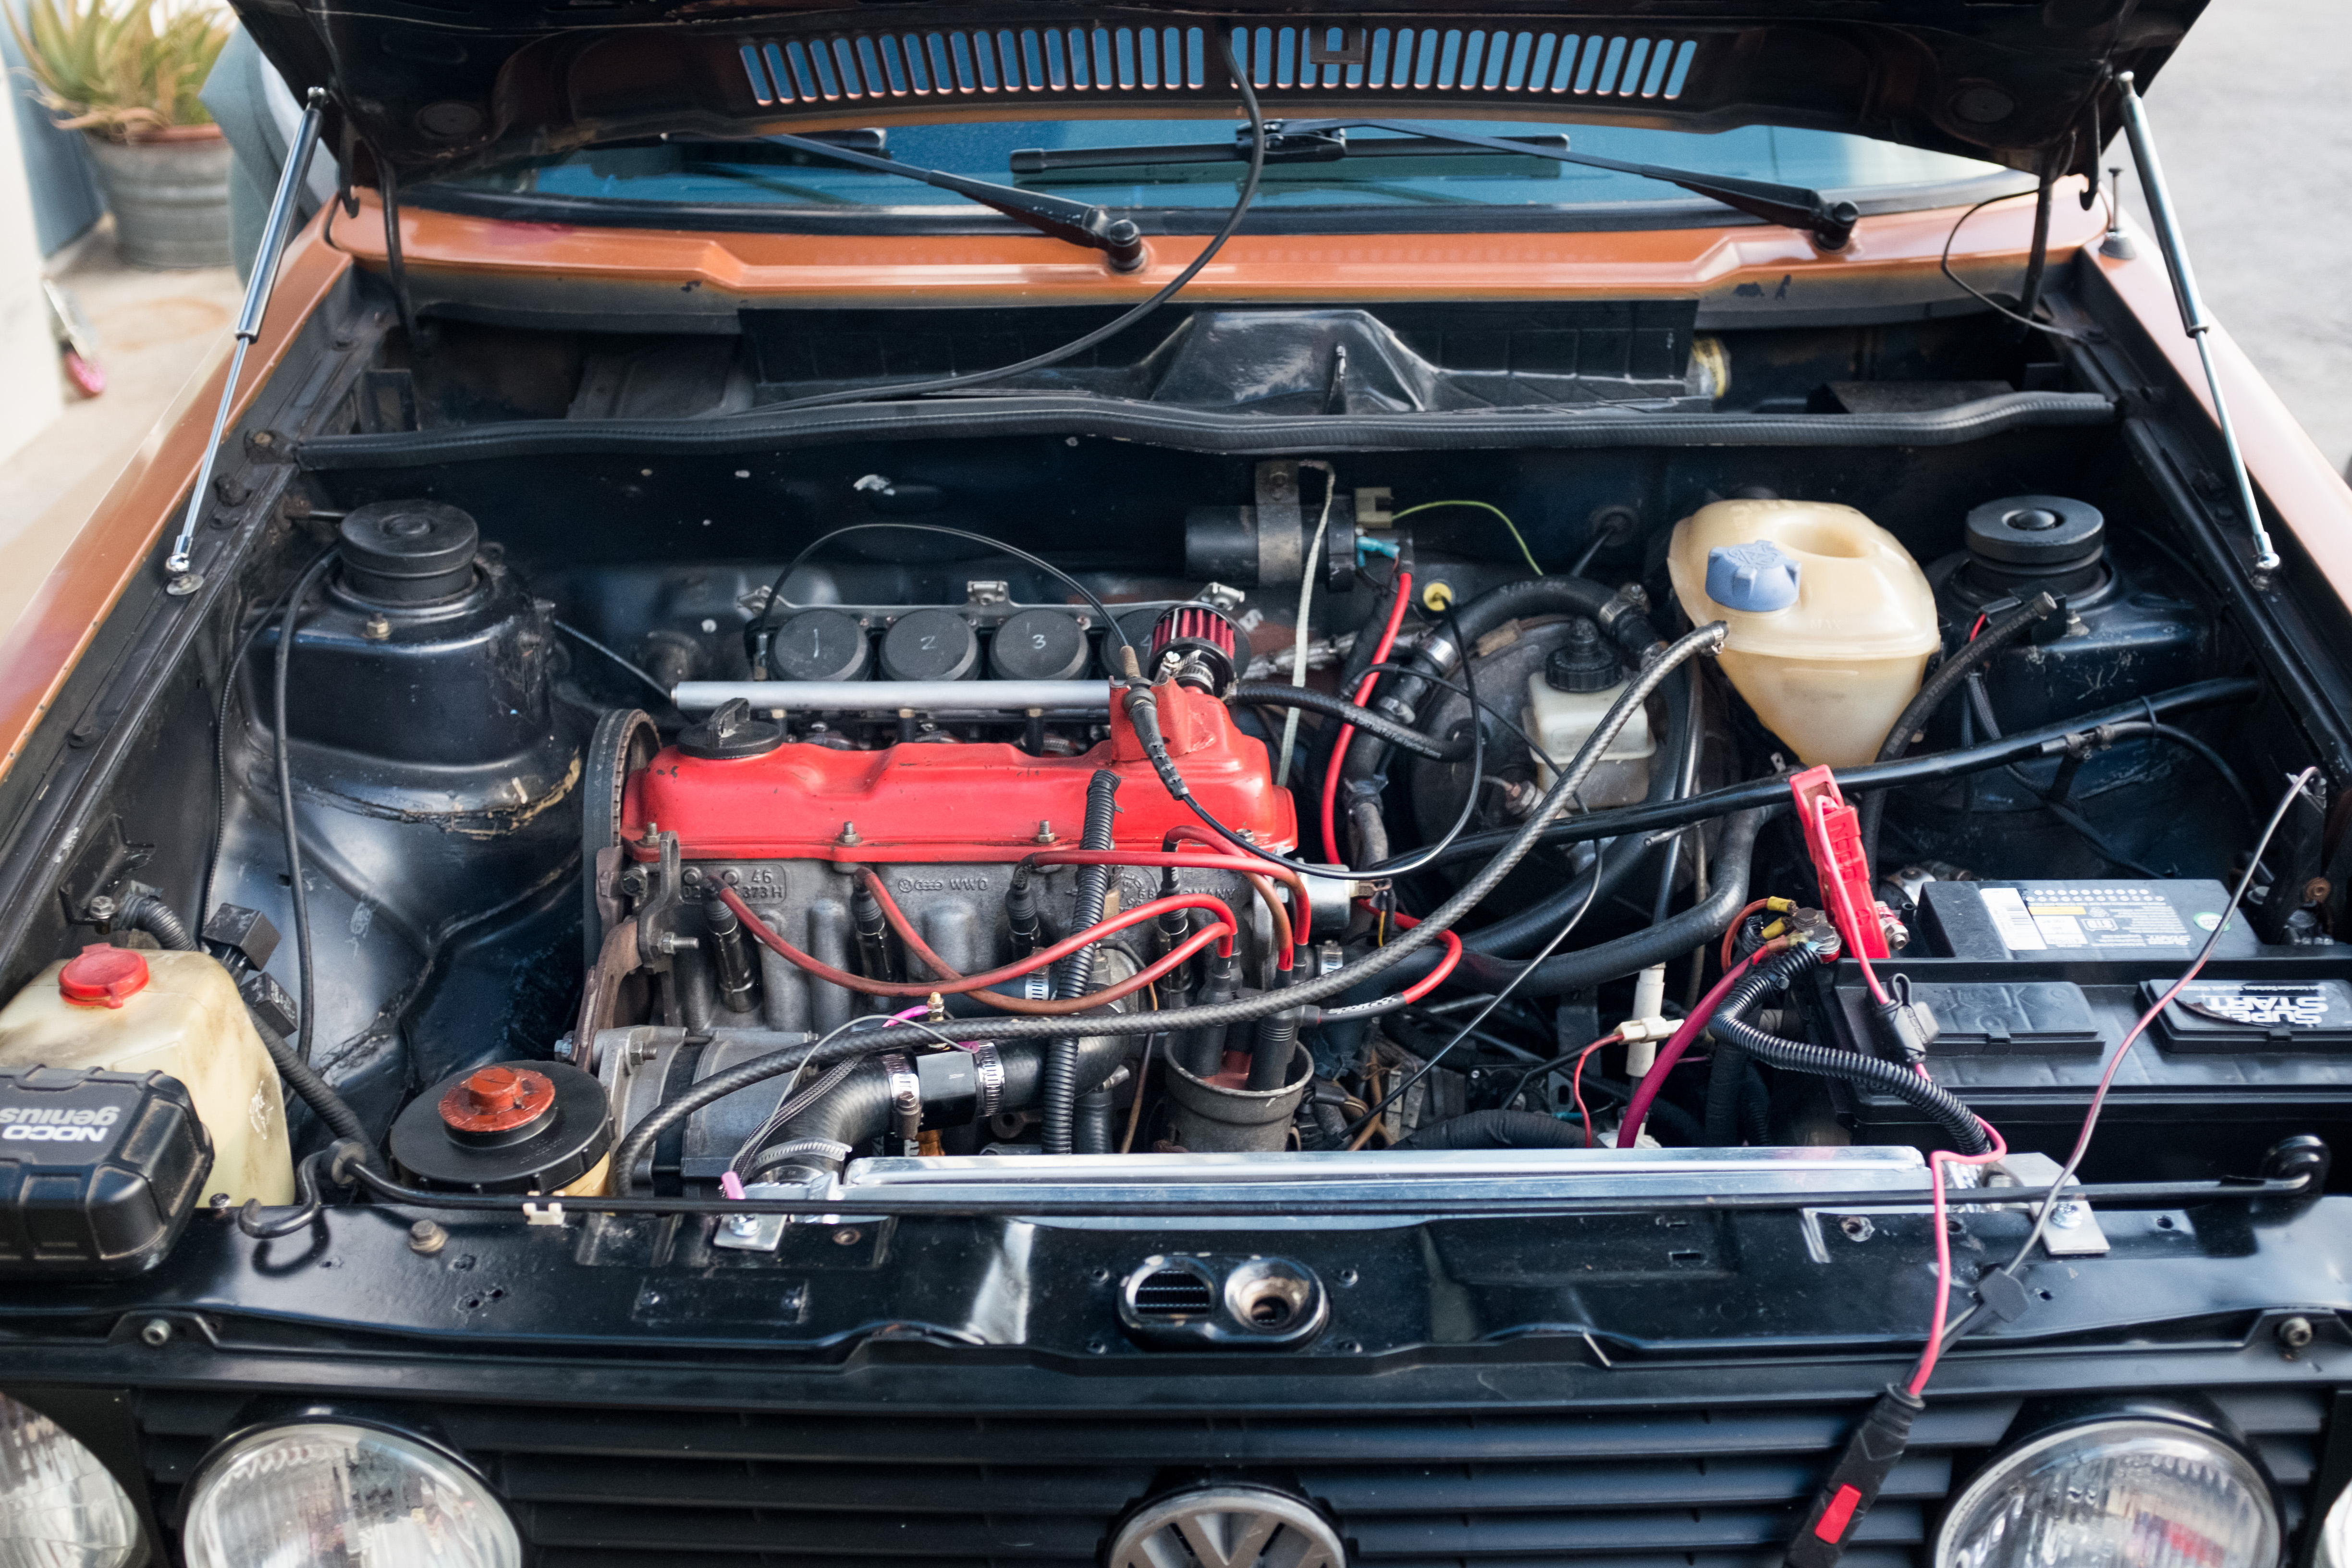
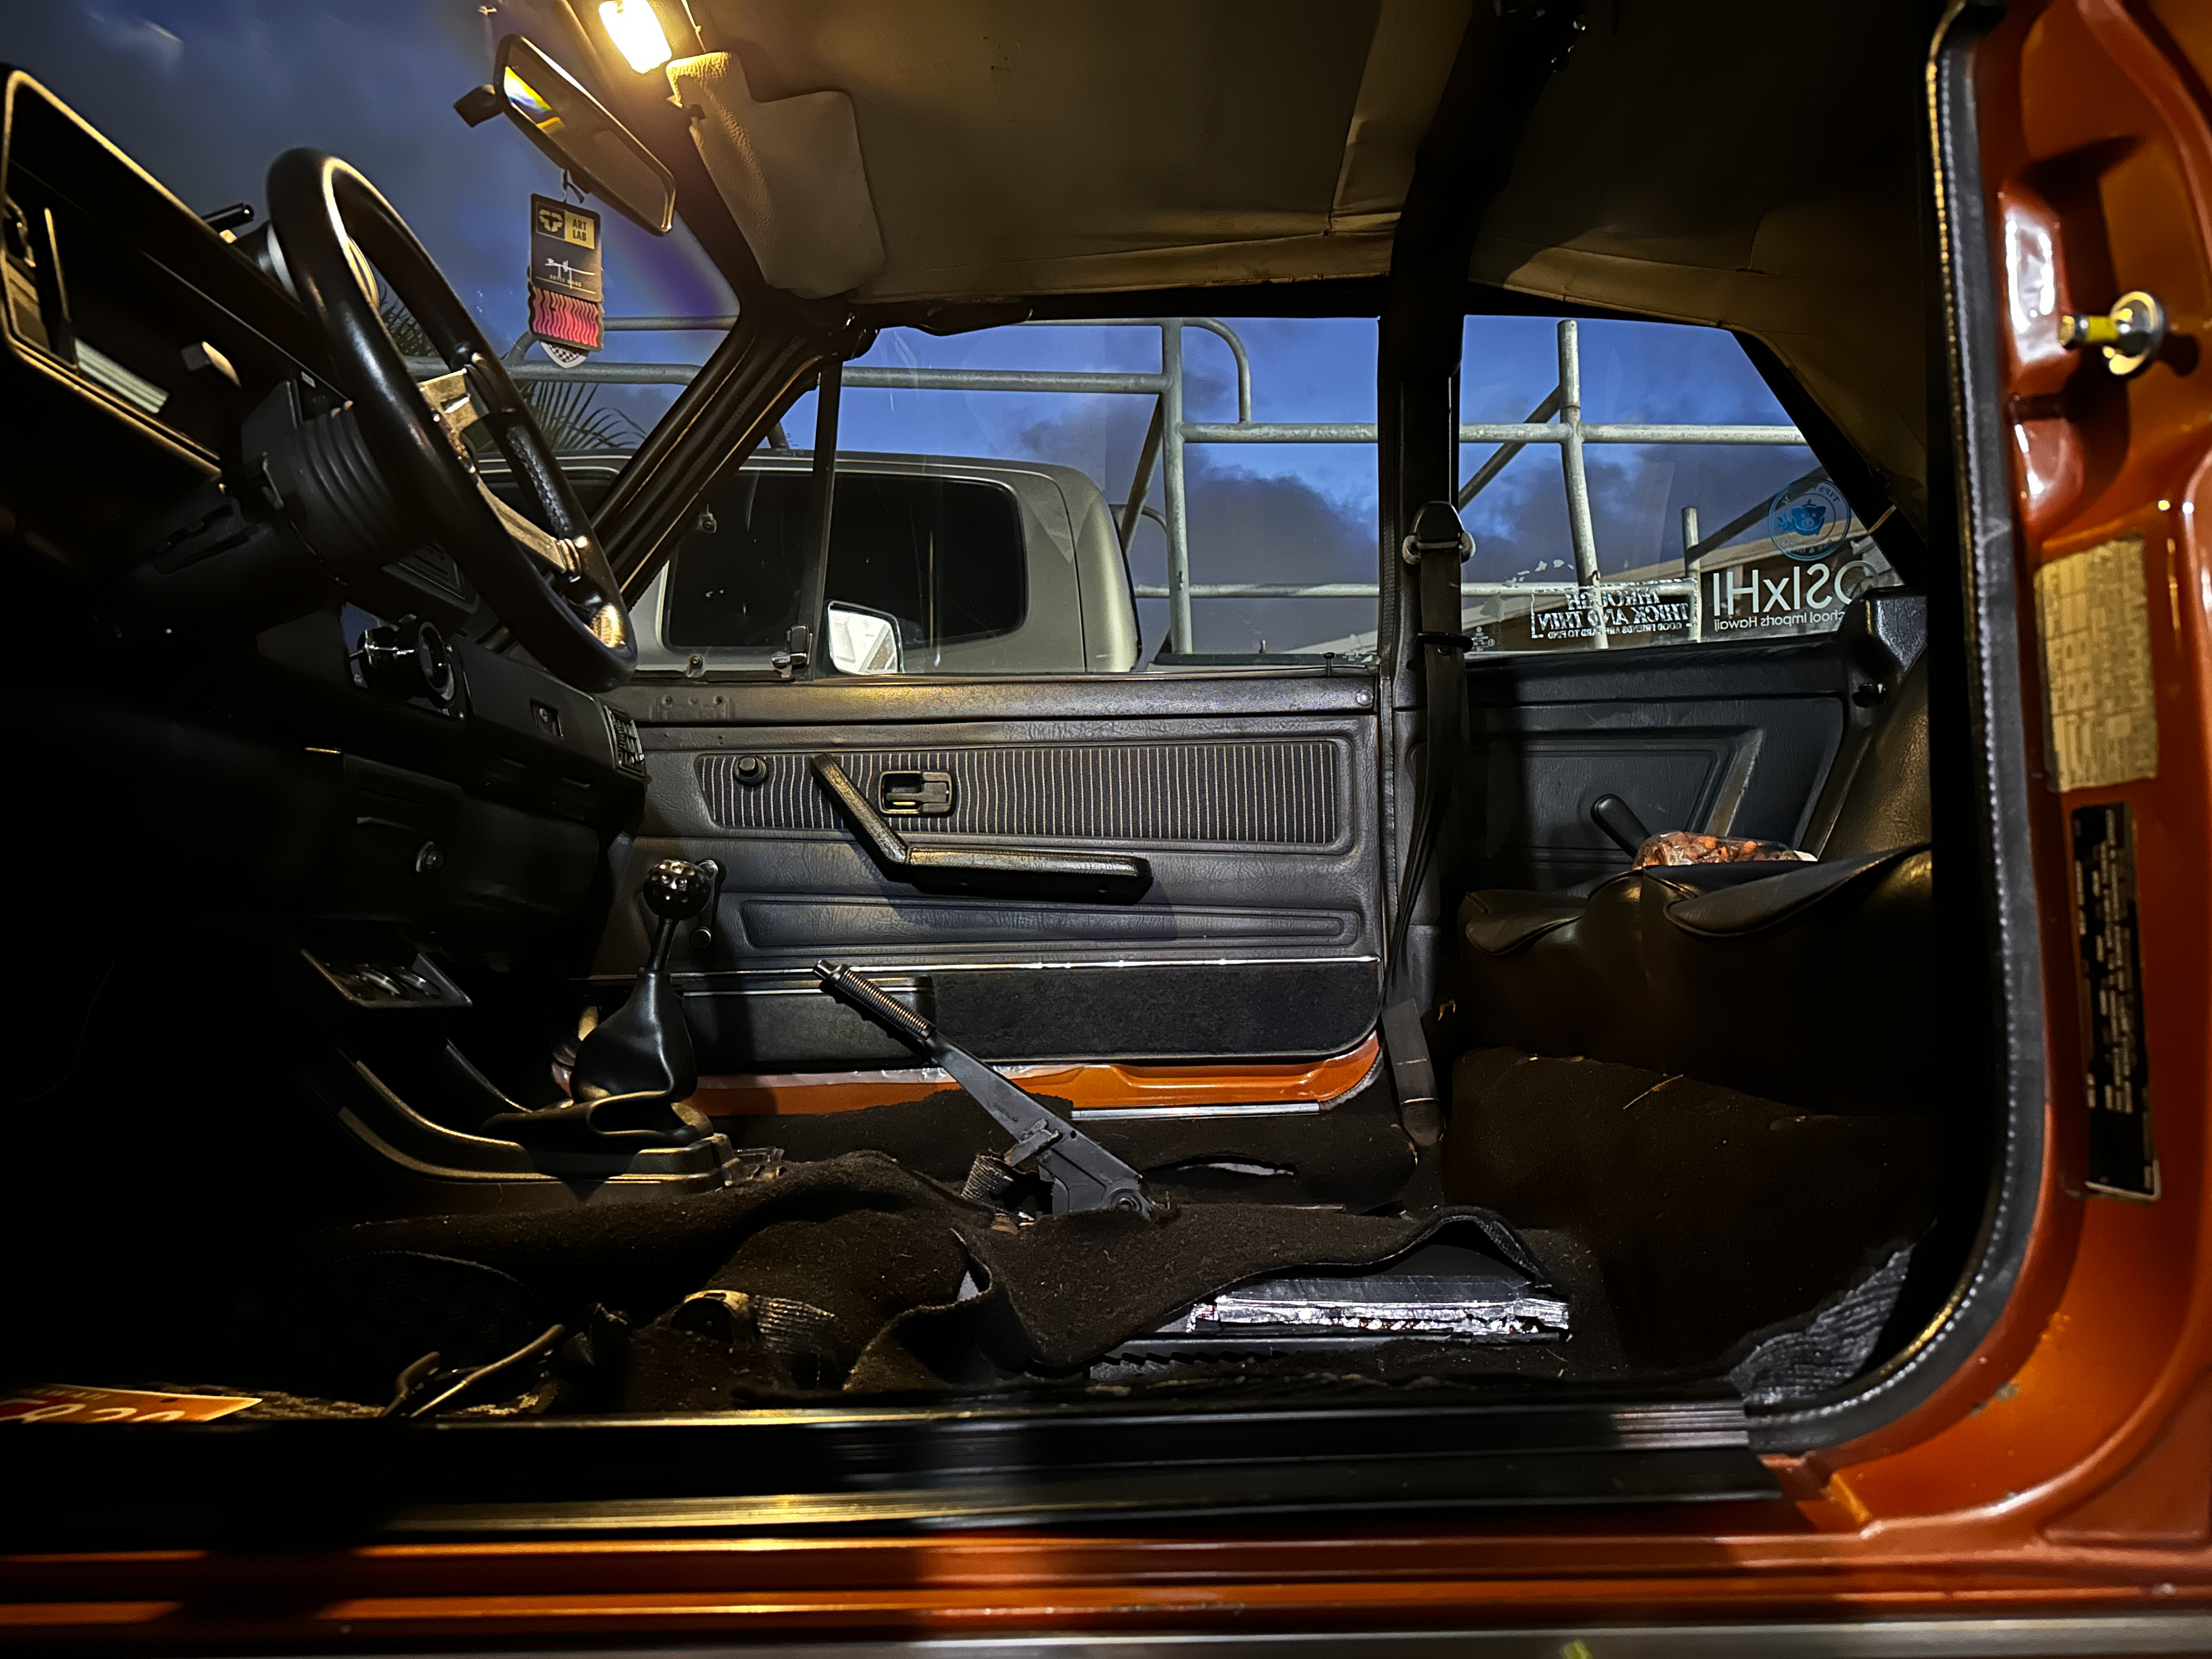
The Cabby lives again
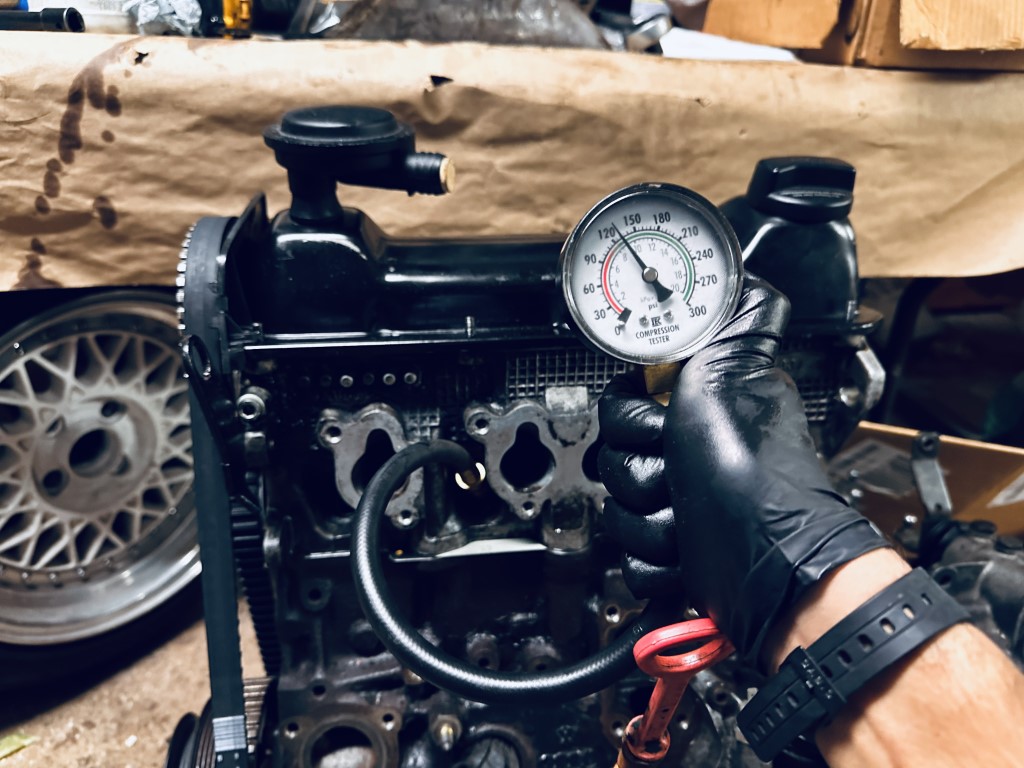
Thankfully, no catastrophic damage.
I checked everything that I could without doing a full teardown. Compression, hoses, and all seem healthy. A carbon buildup on the spark plugs but that’s ok. The car is still on jack stands at the moment because I’m doing more maintenance items before getting back on the road. Don’t want more shit breaking on me, now do we. Future Josh will appreciate it. As far as what has been done, this is the breakdown of the issues I found, my solutions, and a short description of what they are.
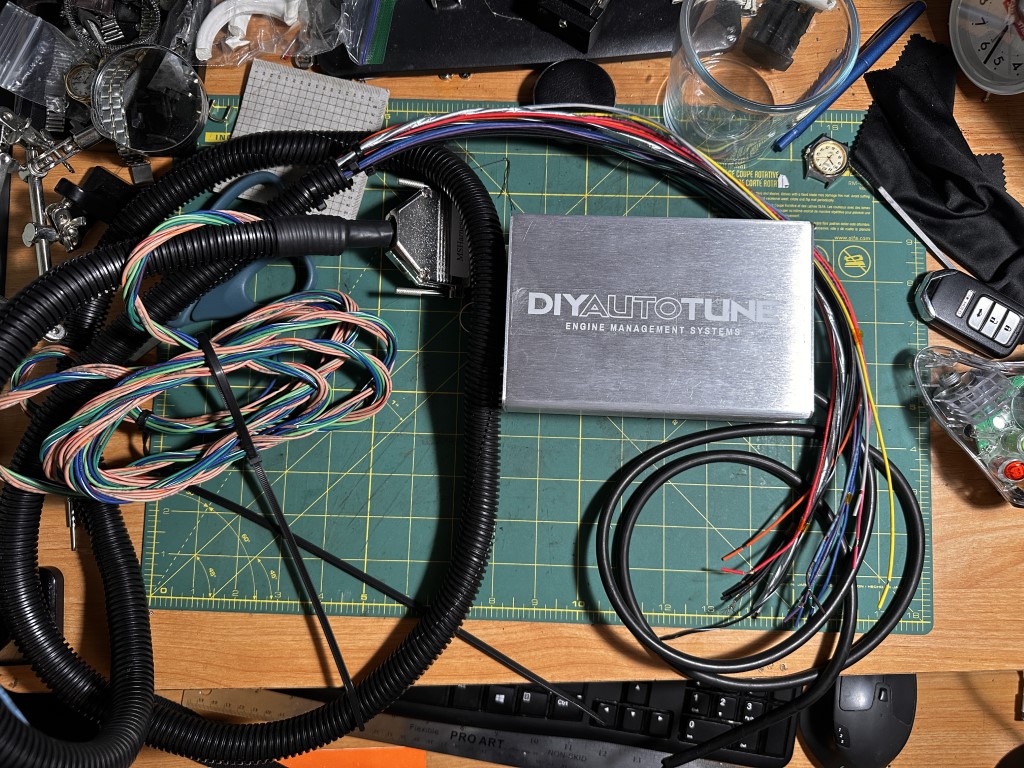
Fuel system - Need an outie for my innie
Estimated time: 6-8 hours
You may be surprised to know that my fuel system doesn’t have a return line. Why? Because I didn’t want to spend money on the fuel pressure regulator for it. $200 later and we will be installing an FPR shortly :)
Issue: Intermittent car pops on idle - not the good kind
Solution: Needle jet position leaned out by 1 step. New throttle cable.
When I blip the throttle from a stop, there is a backfire from the intake side. The cause is probably the excess dump of fuel on blip that the car surges and doesn’t combust in the engine, so the only way is out the intake in this scenario. Usually, we’d expect it in the rear so I can spit flames! Sadly, not the case. source1 on diagnosing throttle blips source2 on diagnosing throttle blips. To fix this, I’m changing the needle jet position. It was actually shimmed by one washer to enrich the mixture, so I removed the shim for now. My last setup had my needle at position 3 plus a shim, so effectively, my needle jet height was in position 4 which leans towards a richer mixture. I’ll remove the shim to lower the needle jet. It’s roughly equivalent to a 1.0 AFR increase.
The throttle cable also got burnt in some spots of the cable, which caused issues with the cable action. This was a simple replacement and just got another motorocycle cable replacement kit. The issue is that the original cable had special accoutrements that helped with the adjustments. Since throttle cables are another $30 or so, instead, I took parts from the old one and fitted it to the new one. It kind of works. The new cable took about 40 minutes to put together, but the real struggle was fitting this to the throttle pedal.
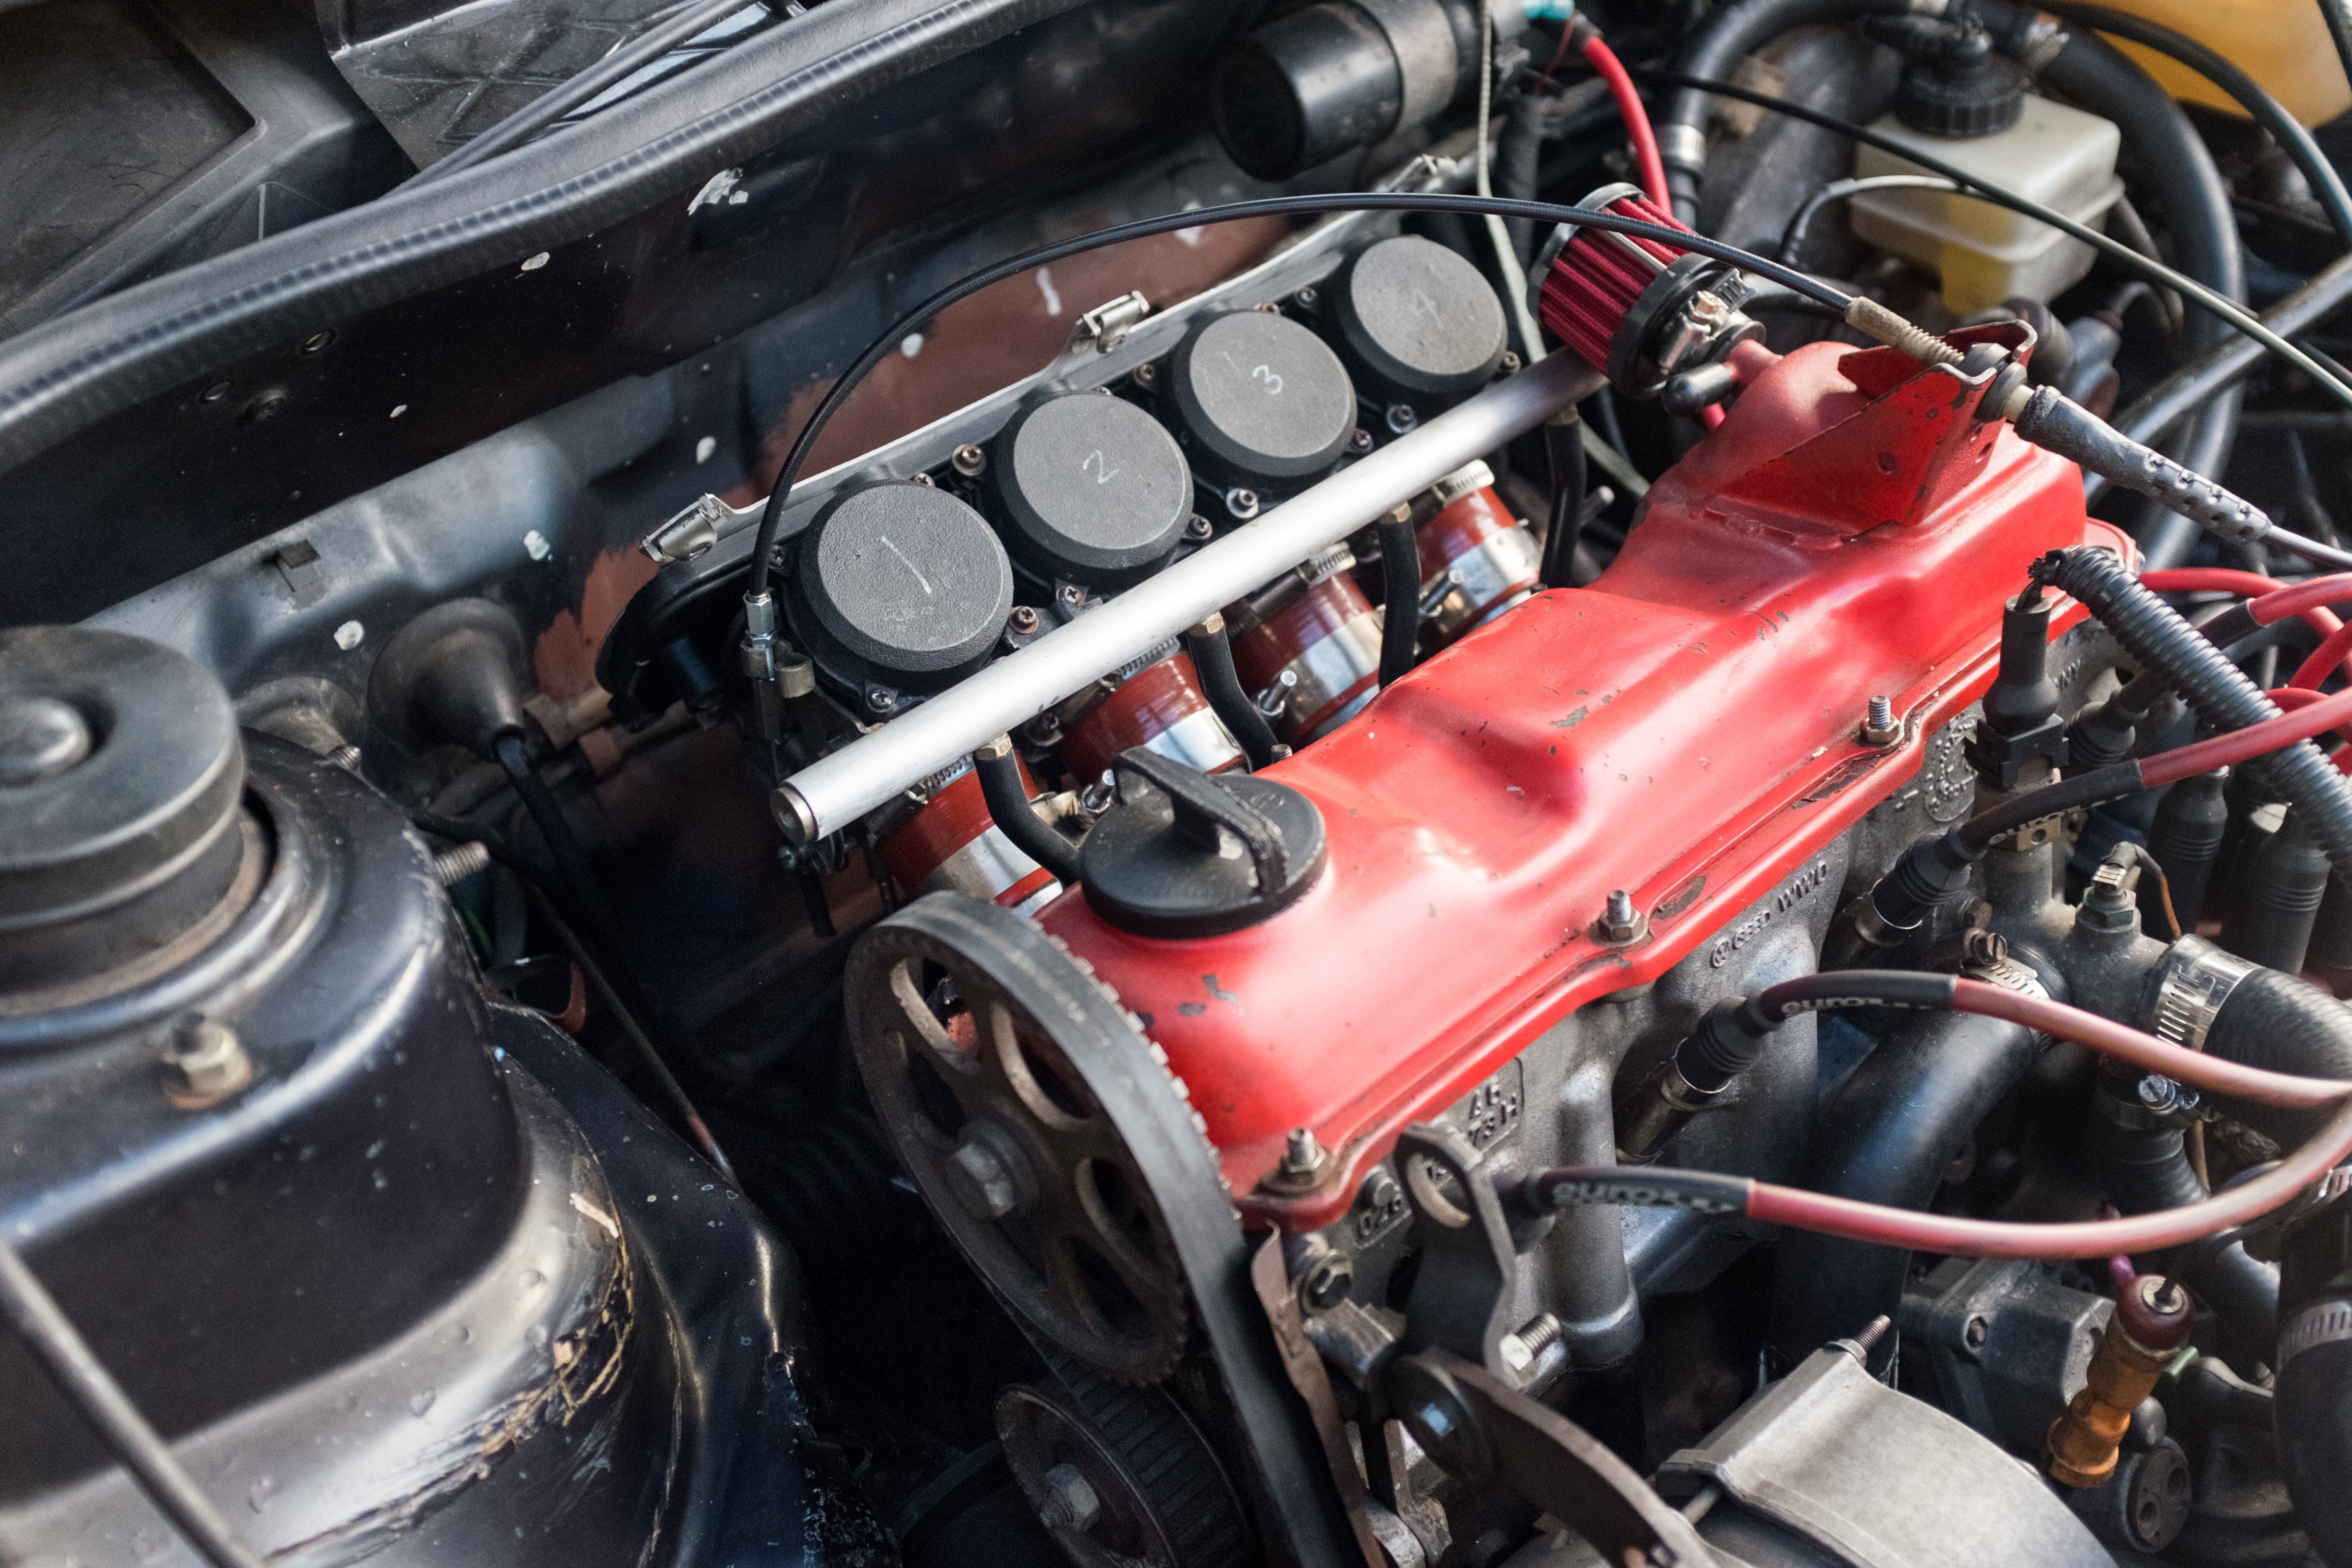
Issue: My idle was screwing around
Solution: Set all idle screws back to 3.5 turns out”
To my surprise, my idle adjustment screws were all over the place! From carb 1 through 4, it went from 2, 2.5, 4.5, and then 3.75. They should all be the SAME. Not sure if I was making adjustments or if they got lost. I set them back to 3.5 turns.
Idle adjustment screw turns out
| Carb 1 | Carb 2 | Carb 3 | Carb 4 | |
|---|---|---|---|---|
| Before | 3.75 | 4.5 | 2.5 | 2 |
| After | 3.5 | 3.5 | 3.5 | 3.5 |
Taking the average of the previous config, is about 3.18 turns out per carb. This can be a good guideline to figure out my new configuration! I turned it out to 3.5 and will tune backward. The current jet settings for my ZX6R carburetors are:
ZX6R Carburetor settings
| Carb 1 | Carb 2 | Carb 3 | Carb 4 | |
|---|---|---|---|---|
| Pilot | 38 | 38 | 38 | 38 |
| Main | 160 | 165 | 165 | 160 |
| Needle | 3rd position, (middle) no shim | 3rd position, (middle) no shim | 3rd position, (middle) no shim | 3rd position, (middle) no shim |
| Idle Adjustment | 3.5 turns | 3.5 turns | 3.5 turns | 3.5 turns |
Intended tune: slightly lean idle, closer to 15AFR than 14.7AFR. I’ll inspect idle speed, idle RPM, and vacuum after driving some more.
Replacing the burnt stuff
Solution: Replace all the shitty, burnt parts
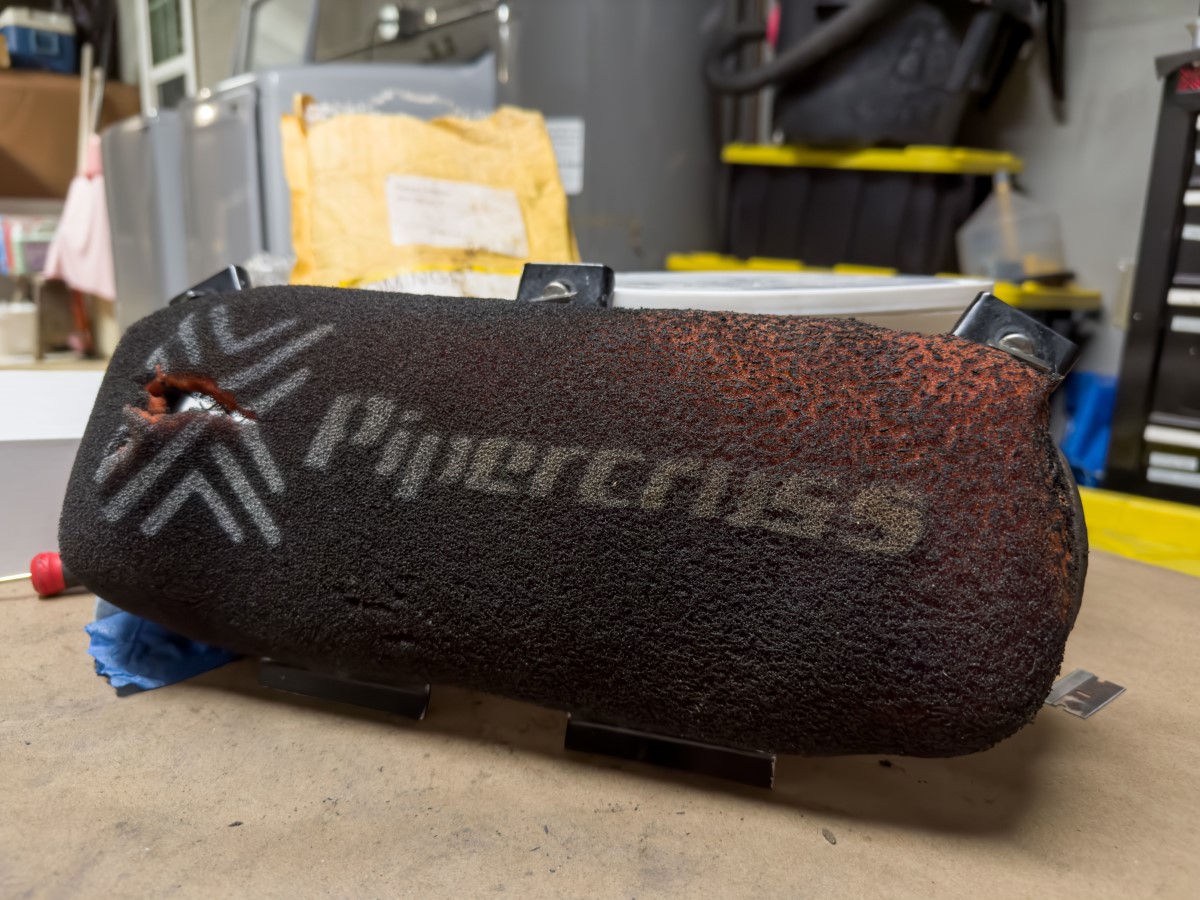
Since the coolant splashed EVERYWHERE it could in the engine bay, the air filter got damaged, vacuum lines, and other parts also got burnt. The following items had to get replaced, cleaned, or repaired:
- All surrounding coolant lines
- Radiator
- Radiator fan
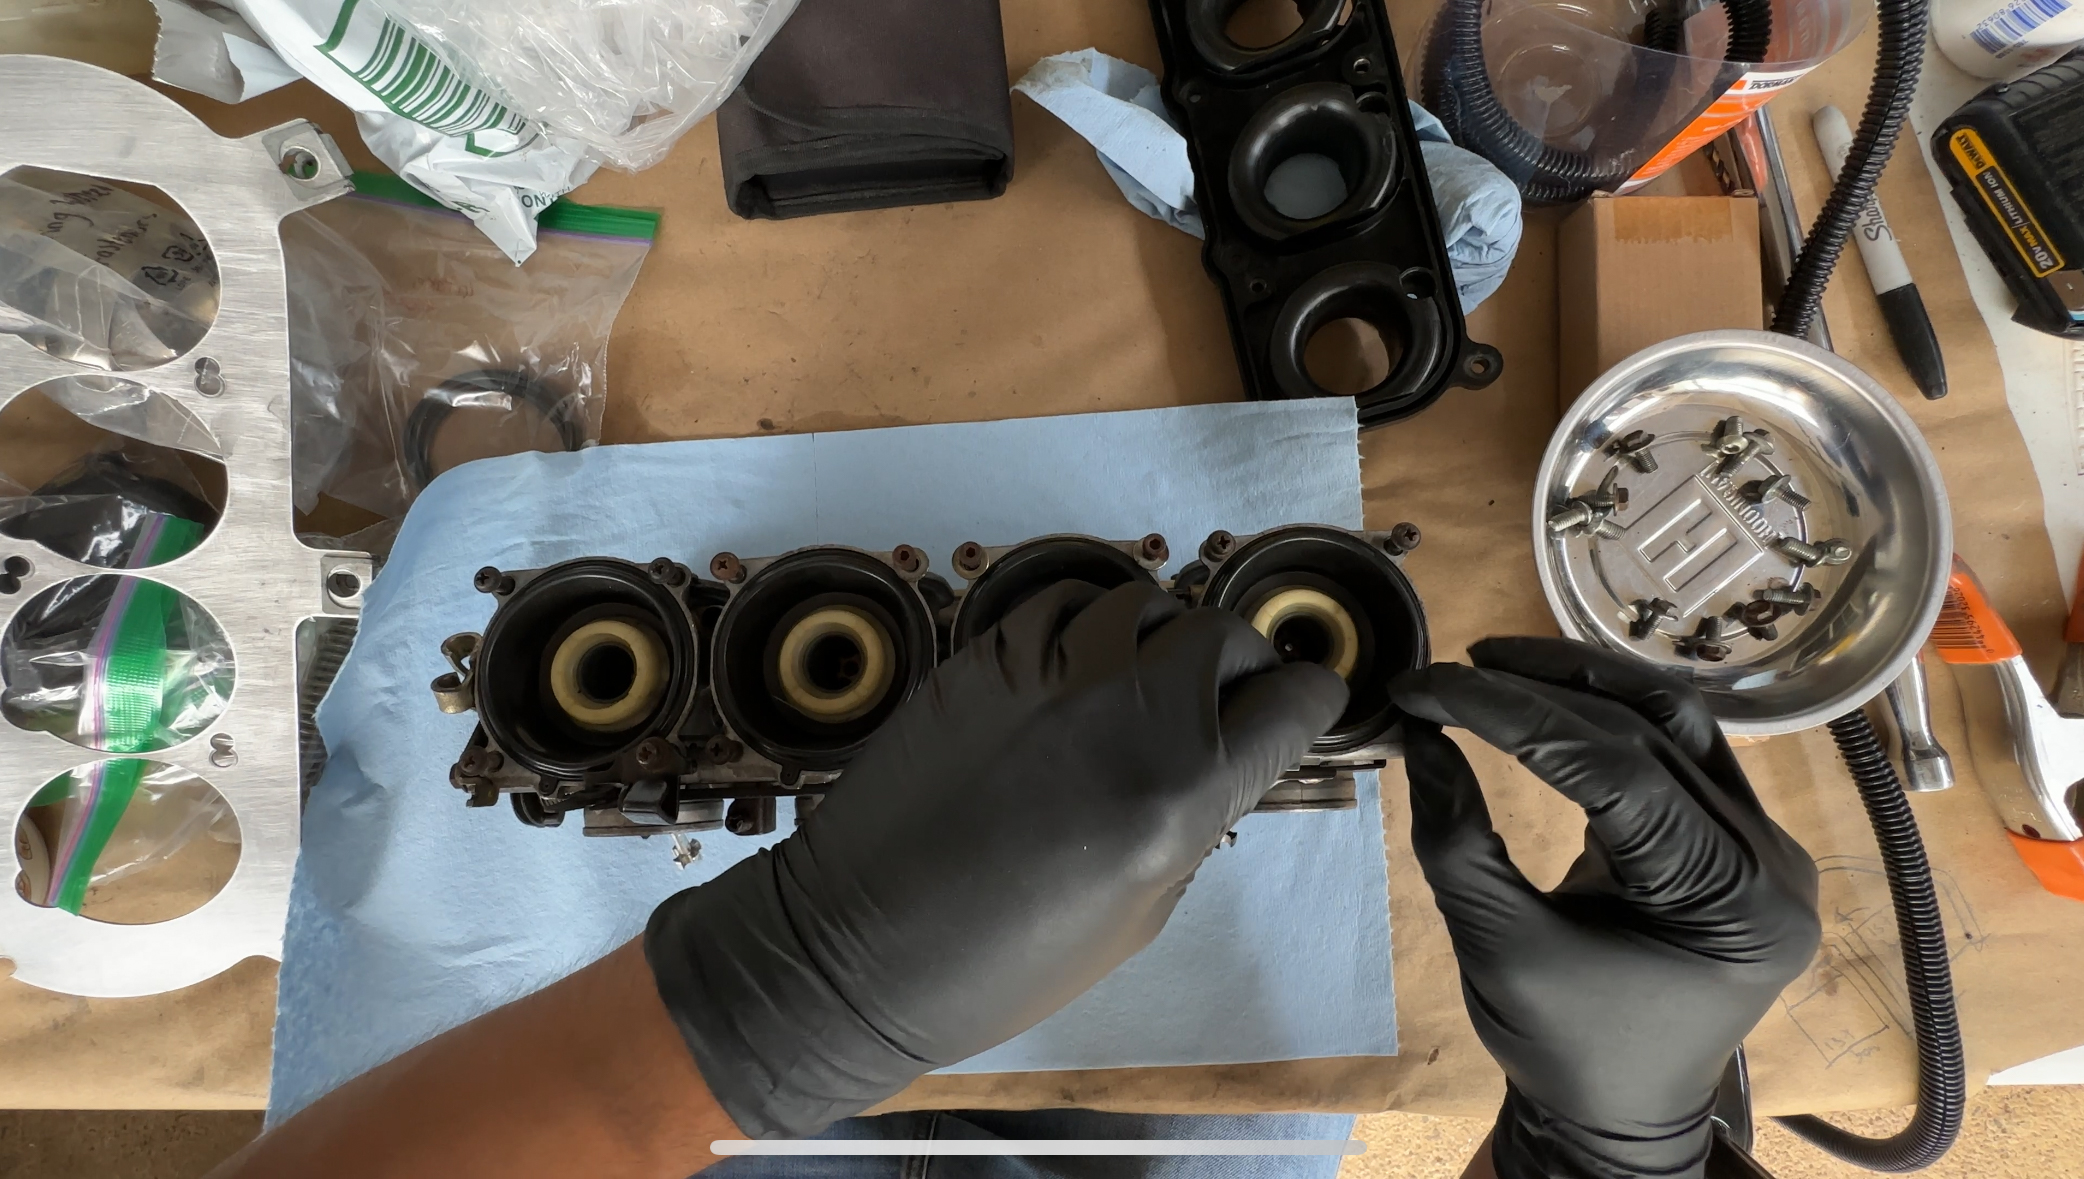
- Carburetor caps
- Various vacuum lines
- Throttle cable
- Air filter
- Headlight wiring harness
- Crankcase vent filter
Summary of replacement and repaired issues
The work itself was not difficult, but sourcing the parts since almost all of the parts are from off-island makes the repair a lot more challenging. Planning and considering future solutions also come into the mix.
- Purchased parts:
- Crankcase vent filter
- Any applicable fittings
- Throttle cable
- Fuel Pressure Regulator
- AIr filter
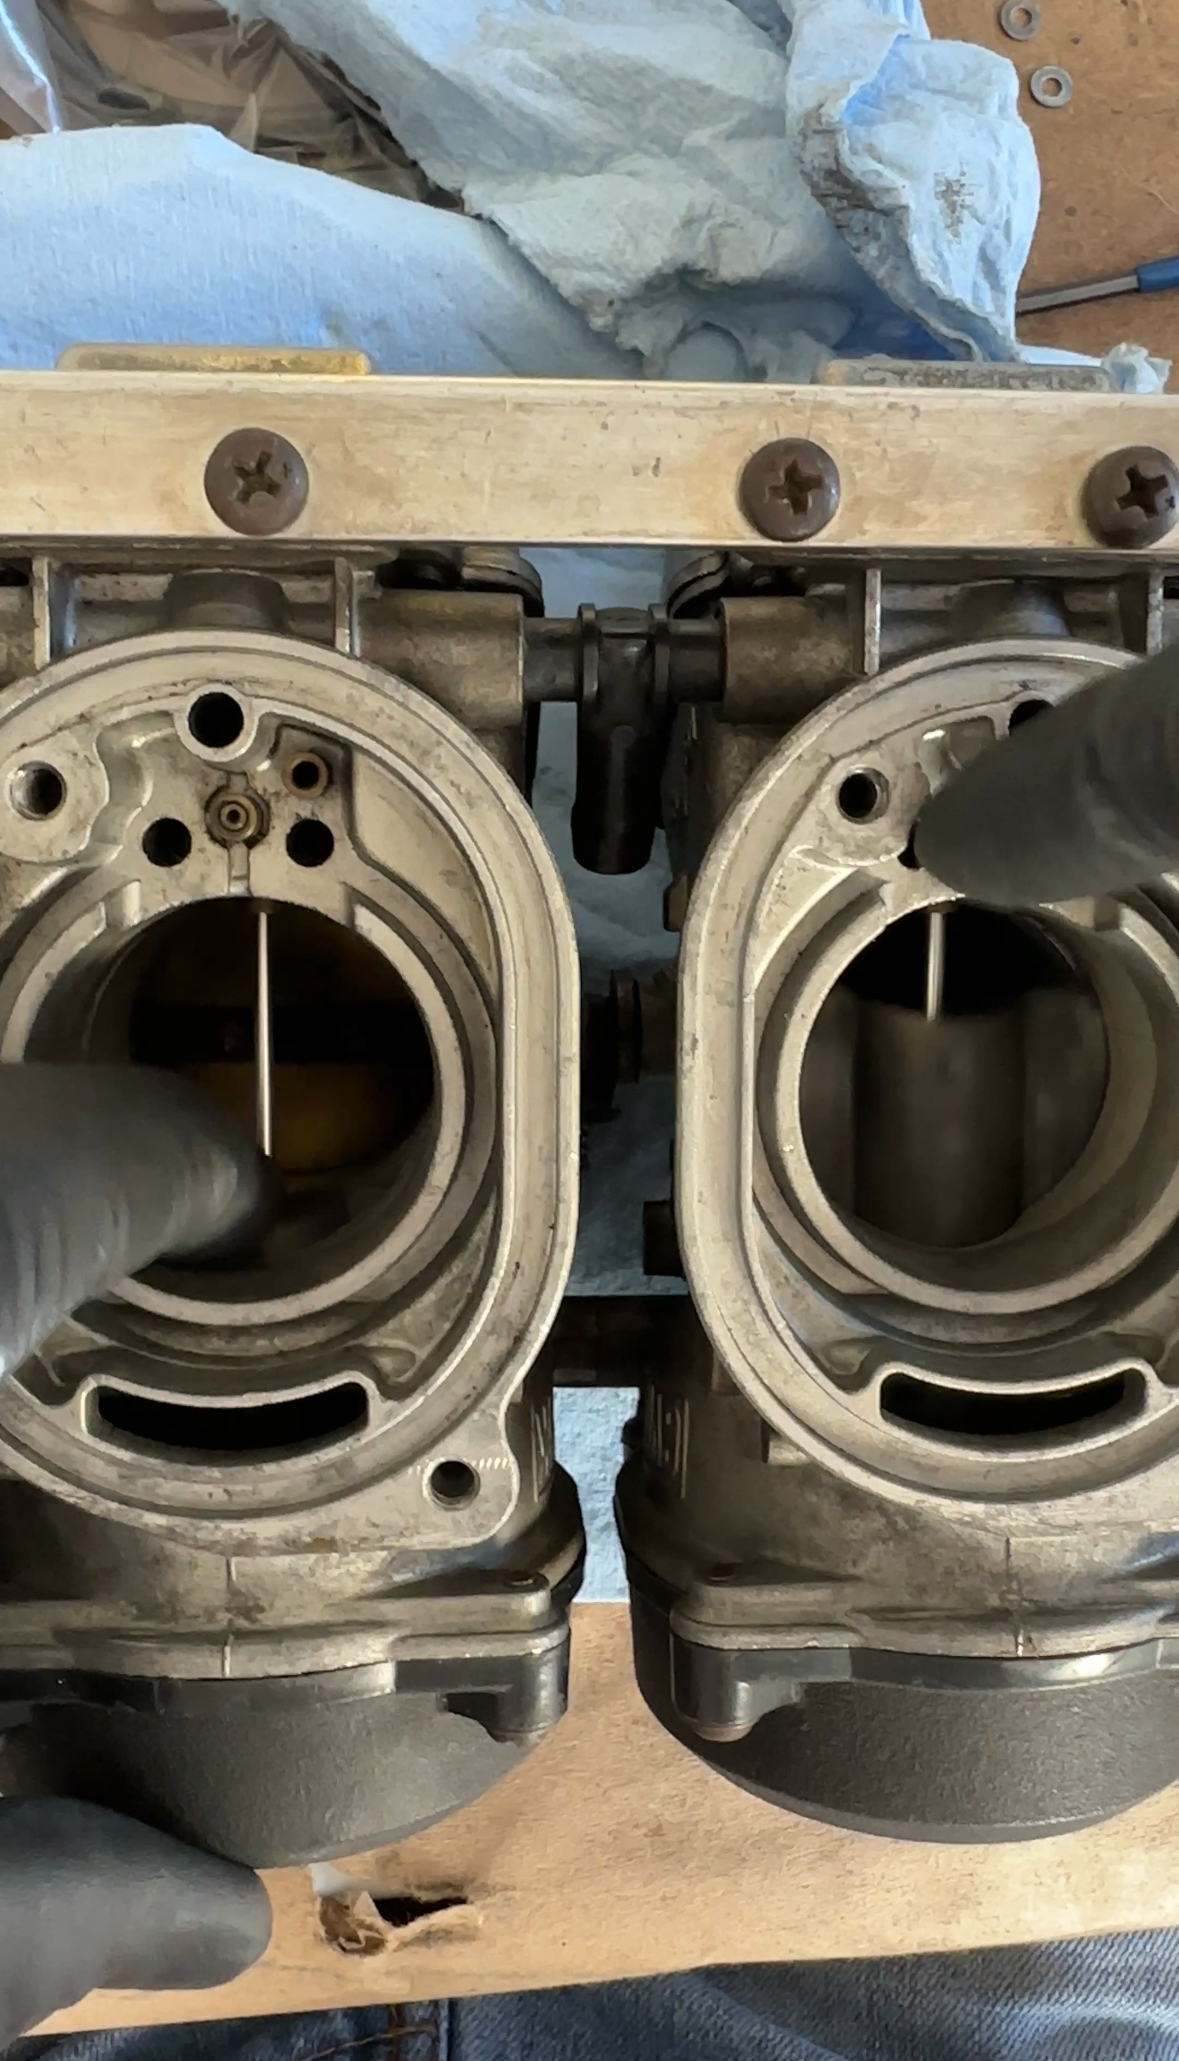
- Cleaned and Inspected:
- Inspect fuel bowls
- Inspect jets
- Clean carburetor system
- Adjust:
- Needle jet clip to 3, no shim
- Install:
- Fuel filter with inline return
- Fuel return line, engine bay
- Fuel return line, rear
- Throttle cable
- Replacement hoses
- New!
- New manual fan switch because I don’t trust the internal wiring anymore
- New Equus analog water temperature gauge
- New gauge bezel in the center AC vent
Brakes - Just the parking brake!
 Old cable on the left, new one on the right.
Estimated time: 1.5 hours
This is going to be the simplest of all the issues that I have, I just have to install these new parking brake cables. The ones on the car are probably the original cables. These cables aren’t doing their job that well anymore, I have to yank that brake to its highest click setting in order to lock my car down, not ideal. But, I am tired and I really want to just finish the mandatory work. I swear I’ll do this job when I make the time for it next week, haha.
New cables will just need to be fed through the bottom, hooked up to the parking brake lever in the drum brake system, and then fastened down from the cabin to ensure proper tension. I’ll probably have to make more adjustments after the cables stretch into its normal position.
Fluids - Transmission and Cooling
Total stimated time: 3 hours or more (depends on bleeding)
Transmission fluid
Estimated time: 30 minutes
Draining and filling transmission fluid is pretty straightforward. You need a 17mm hex socket (like a massive allen wrench). Here’s a VWVortex guide. I’m replacing it with 75W-90 Valvoline gear oil.
 It’s not a milkshake, there was leftover engine oil mixed with trans fluid haha
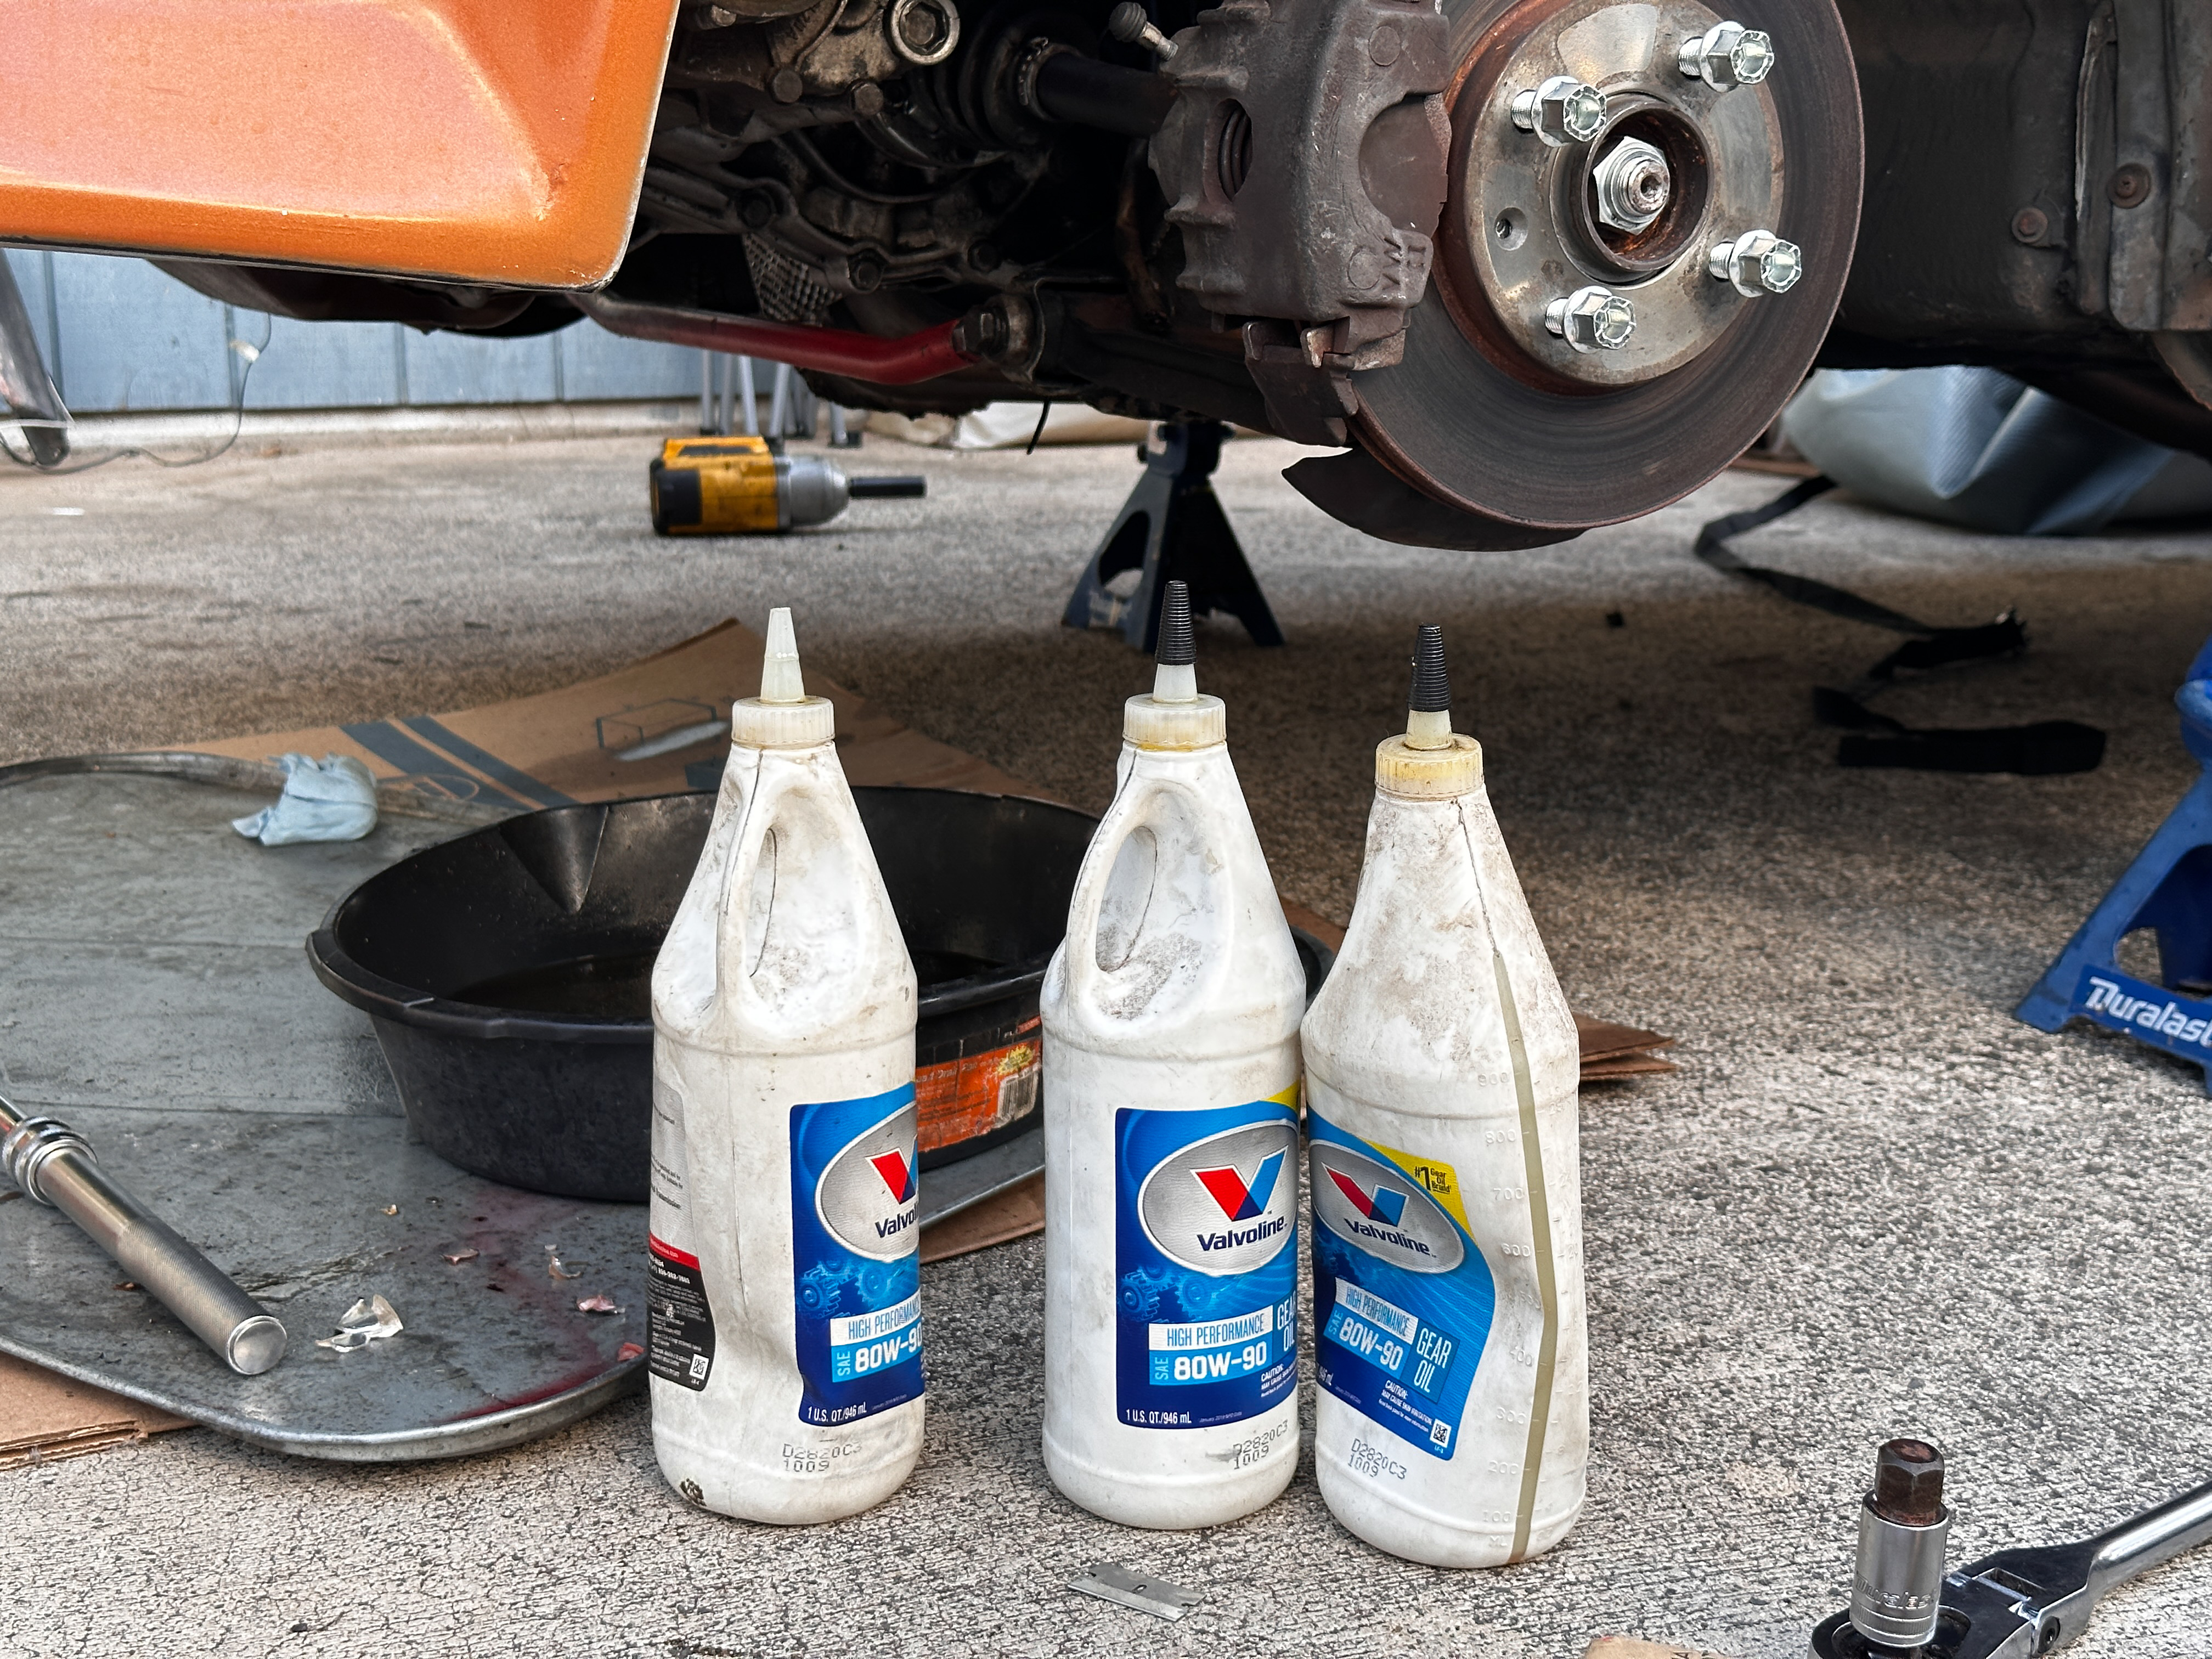 Valvoline 80W-90 API GL-4 fluid
I used Valvoline 80W-90 API GL-4 fluid to refill my transmission. There was some brass glitter in the fluid, so definitely worn and I really want to take care of this transmission eventually.
I got this info from Cabby info. This site is a wealth of information on everything related to the cab. Check out their write-up on Transmission and Clutch here. I use this site for all my references and I’m hoping that my own sudoyashi.com can be a wealth of custom information some day too!
Water and coolant
Estimate time: 2+ hours
Currently, I’ve just filled up the cab with distilled water to make sure it’s as clean as possible before moving it through the new radiator. Once I’m satisfied with how clean the car is, I’ll switch to coolant. I’m using G12 coolant to fill the system once the system is as clean as it gets.. From the local VW dealership, it was about $25 per gallon jug.
It never ends…
I could have rushed this project to get it back up and running as soon as possible but life and finances get in the way. It’s okay, I’m taking my time trying to put together, I know I cut corners as my energy and motivation gets lowere and lower from sprinting to the end. This work was long overdue and I got away with running away from maintenance issues for too long. One way or another the car was going to get fixed lol.
I’m hoping to wrap this car up by the end of July so that I have a bit of time to enjoy it in August and September. Once the Fall and Winter months start to roll in, we’re going for my very first performance mod–a new camshaft.