DIY decals for SCCA
Written on January 25th, 2023 by Joshua Domingo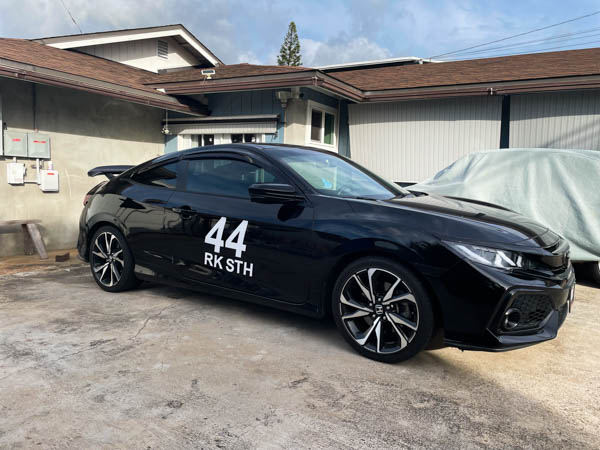
a DIY guide to making your car decals using a Cricut.
SCCA Car Numbers and Decals
![Civic with decal]https://www.sudoyashi.com/assets/img/civic-si-decal.jpg)
Your number should be easy to read from across the lot. To elaborate, here is an excerpt from the 2022 Solo rulebook on vehicle identification.
Section 3.7 Vehicle Identification from 2022 SCA National Solo Rules
A. All vehicles must display numbers and class letters on both sides, which must be readable by Timing & Scoring, Course, and Grid workers at all times.
B. Only one set of numbers and class letters may be visible while the vehicle runs.
C. Class shall be represented by the upper-case abbreviated form rather than be spelled out. Ladies’ classes shall be indicated by the letter “L” following the class letters. (Example: “BSPL” instead of “B Street Prepared Ladies”).
D. Numbers and class letters should be positioned next to each other. All letters and numbers must be on body panels, not on windows. All numbers and class letters must use the same typeface and color, which must provide adequate contrast to the background color (see Appendix F for examples).
E. Numbers must be a minimum of 8” (20.5 cm) high with a 1¼” (3.25 cm) stroke. Class letters must be a minimum of 4” (10.25 cm) tall with a ¾” (2 cm) stroke. In all cases, the height of the class letters must be between 25% and 75% of the height of the numbers. Stroke width must be at least 10% of the height (see Appendix F.)
F. The “1” on two-driver cars and the “L” on Ladies class cars are subject to all of the above requirements with regard to placement, color, size, and stroke
…
… Skipping items G. and H. because it does not apply to my car class.
…
DIY race car numbers and letters
In my case, I used a Cricut die-cutting machine. Here are your options:
- Cricut die-cutting machine (this tutorial)
- Cut it by hand with a razor
- Borrow someone’s die-cutting machine
- Comission someone to make your decals.
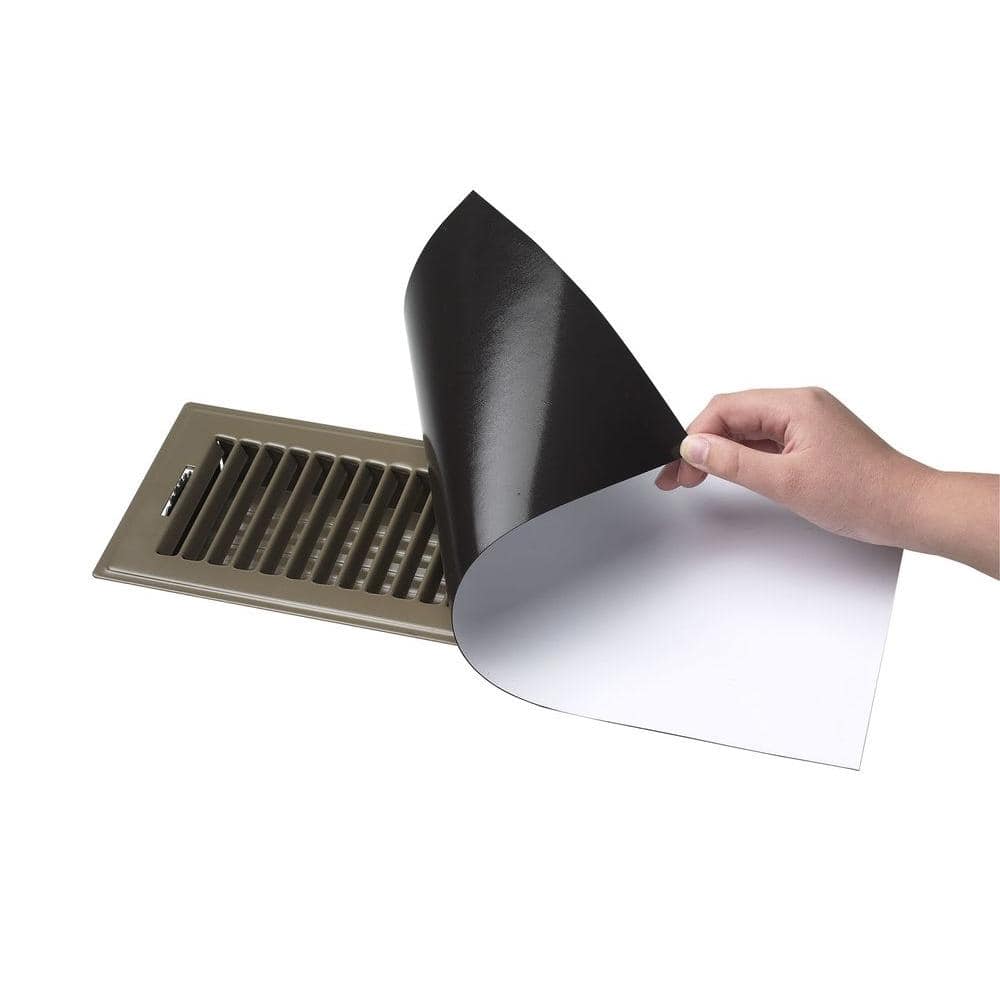
Magnetic vent covers - The cheapest magnetic numbers
At Home Depot, I picked up these magnetic vent covers at $8.99 each. Each pack came with three 8 in. x 15 in. sheets. You can buy magnetic vinyl at home improvement stores; look for “magnetic vent covers.” If they don’t have that, look for magnetic vinyl sheets (<1mm thickness). I bought two packs, 6 sheets total.
Magnetic Vent Covers
 You can also try Michael’s craft store, Walmart, or Amazon.
Design - Simple and clear
Use a thick, bold, sans-serif font (no curly things at the ends.) such as:
- Arial
- Helvetica
- Open Sans
Making the decal
You can use any software to design for the Cricut as long as you get an SVG file. If you have Adobe Illustrator, use it since it can save as a .svg file. In Adobe Photoshop, I used Arial and italicized the text.
- Setup an 8” x 15” canvas
- Set your font to Arial
- Set your font size to the largest one possible to fill the canvas

- Create a text layer and type your number(s). My number is 44, so I just needed a single 4 and made that 4 times. Make your number as large as possible on your canvas to meet the 8” requirement for SCCA (but who’s really checking?). The number should run vertically so that the height can reach 8” or more.
- Rasterize your text layer and save or export it as a .SVG file. If your software cannot save it as .SVG, use .PNG and convert it using an online converter like Convertio.co.
- Save your .SVG, and let’s get cutting.
Cut your decal with a Cricut
With your SVG on your computer, let’s load up the Cricut.
- Power on the Cricut and load your mat and cutting tool.
- Open Cricut Design Space and upload your image (.svg)
- On the computer, line up your design with your material on the mat
- Load a sheet of PAPER to test the cut. Start the job and see where the design falls on an 8.5” x 11” and adjust your mat placement.
- Remove the paper test and see if it fits within your vinyl material. If not, adjust your mat and make another cut. It’s cheaper to make mistakes on paper than on our vinyl.
- When ready, load your magnetic vinyl
- Change your material to magnetic vinyl 0.6mm, it will not cut all the way, but that’s okay. We can separate it after.
- Cut your design
- Remove the mat and remove the cut number or letter. Since it does not cut through all the way, use a razor and poke through the cuts. Once you release an edge or corner, you can peel away the remaining excess material.
- Check your handiwork, it doesn’t look too bad!

- Repeat as needed
Cut your decal by hand
Cutting by hand with a rule and razor is straightforward, print out your SVG or PNG file on paper, tape it to your medium, and cut out your characters. If you are cutting by hand, use a blockier font like Jersey M54.
Use a sharp blade to make it easier.
Conclusion
Make simple decals. Don’t go artistic.
If you don’t have Adobe tools, use GIMP. It’s a free alternative to Photoshop. Don’t know how to use design tools? Watch some tutorials, and you can certainly churn out something half-decent in a few hours! Good luck!